One of the unique aspects of this website is that all the labs and tutorials provided can be used right away, as long as you have built the foundational lab environment as outlined in the Building Your F5 Lab Environment article. The good news is that you’re already in the right place.
By following the instructions in this foundational setup, you will create a versatile and robust environment tailored for F5 BIG-IP experimentation. This setup serves as a launchpad for all subsequent labs, ensuring that you have the necessary configurations and resources in place.
Network diagram of the lab
What will we build, you may say ? Here is below the network diagram of our desired lab :
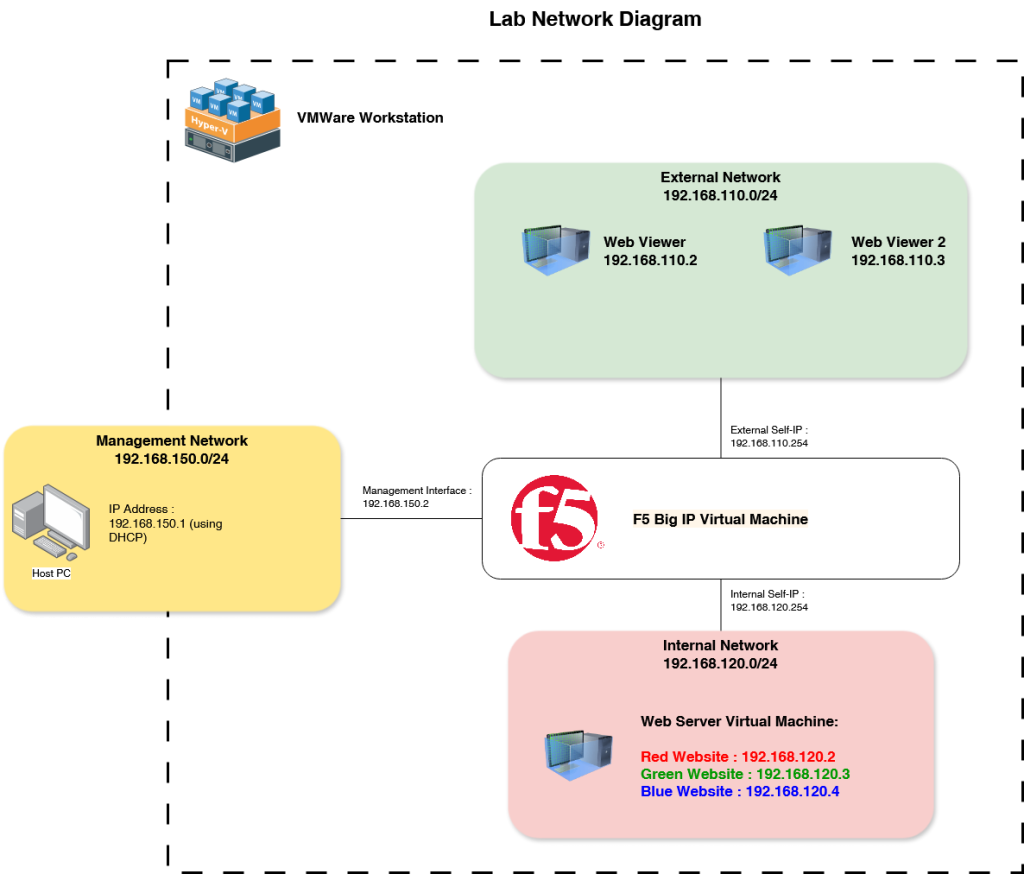
The lab setup is composed of three distinct networks:
- Internal Network: This network hosts the virtual machines running the web servers. It includes three web servers, each assigned a different IP address and featuring a unique color scheme for easy identification during testing.
- External Network: This network contains the web viewer virtual machines. These two virtual machines will simulate user access to the web servers.
- Management Network: This network connects to the host PC (the machine running VMware Workstation). It enables access to the F5 BIG-IP administrative interface from the host PC for configuration and monitoring.
VMs download
To set up the lab, several virtual machines will be required. To simplify the process, I have prepared a torrent file containing all the necessary virtual machine configurations and files. You can download it using the link provided below:
Torrent : F5 labs VMs v1.2
Mega : F5 labs VMs v1.2
Download and install VMware Workstation
VMware Workstation will be the hypervisor that will host all the necessary virtual machines to run labs. The first step is to download and install VMware Workstation pro.
To download VMware Workstation Pro, register to the broadcom support portal.
You can download Workstation 17 pro on this link :
Install and execute the setup.
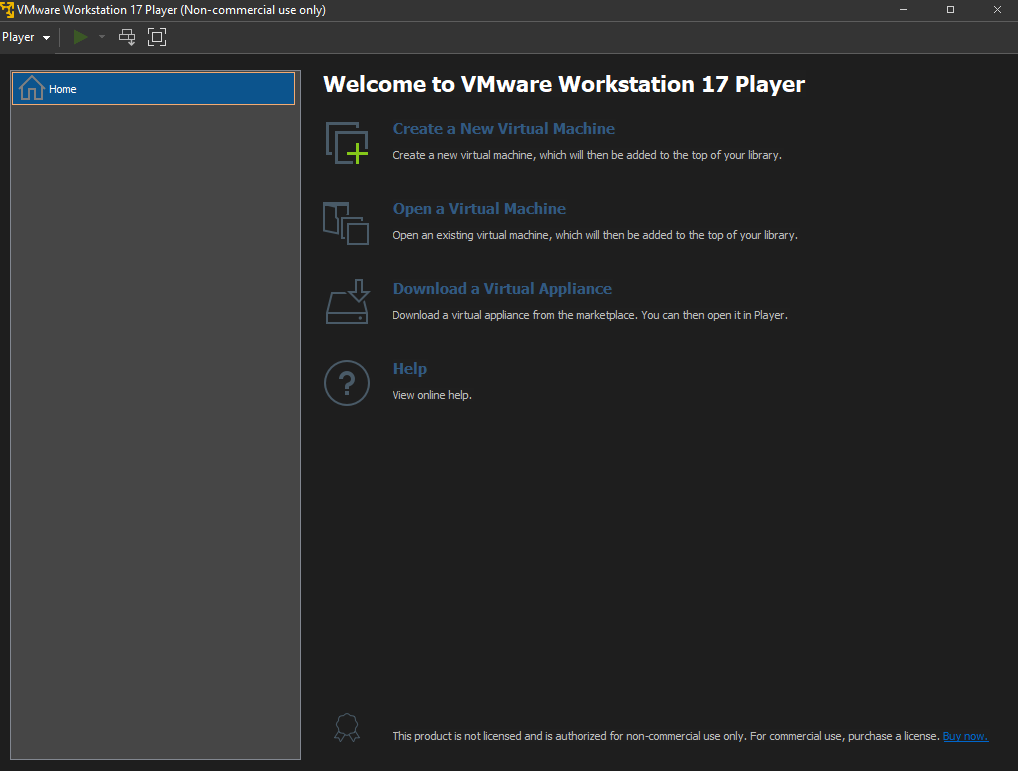
You can then open VMware Workstation Pro :
Prepare the networks
Our lab setup consist of three network, as described on the lab network diagram :
The network “external” is the network that will host the client virtual machines. It will be used to access virtual servers.
The network “internal” is the network that will host the server virtual machine. It will host services, like a web server.
Then, we have the “management” network. It will be used to access the F5 Big IP management interface.
For our lab, we thus need 3 networks. We will use network type “host-only”. This type of network simulate an isolated network while letting our host pc access these networks. it is perfect for our use case.
In VMware Workstation, go to “Edit” – “Virtual Network Editor…”.
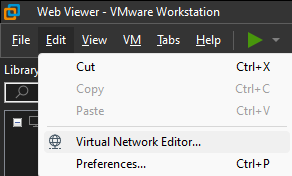
A new window opens that let us configure the network.
Add 3 new networks.
For the first network, rename it to “Management”. In the VNet Information section, select the “host-only” network type. Make sure “Connect a host virtual adapter to this network” is ticked, this way our host pc will be able to connect to the management network.
For the network itself, use the network 192.168.150.0 and subnet mask 255.255.255.0.
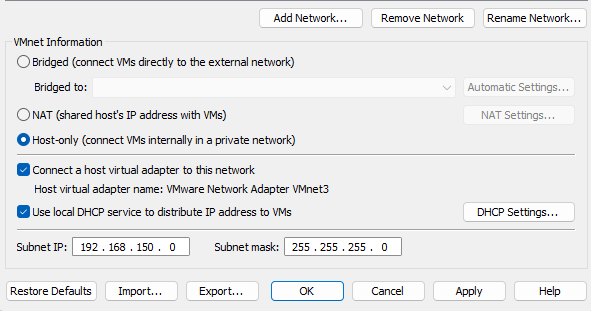
For the second network, rename it to “External”. In the VNet Information section, select the “host-only” network type.
For the network itself, use the network 192.168.110.0 and subnet mask 255.255.255.0.
For the third network, rename it to “Internal”. In the VNet Information section, select the “host-only” network type. Make sure “Connect a host virtual adapter to this network” is ticked, this way our host pc will be able to connect to the server using ssh.
For the network itself, use the network 192.168.120.0 and subnet mask 255.255.255.0.
You should have 3 network of type host-only as follow :
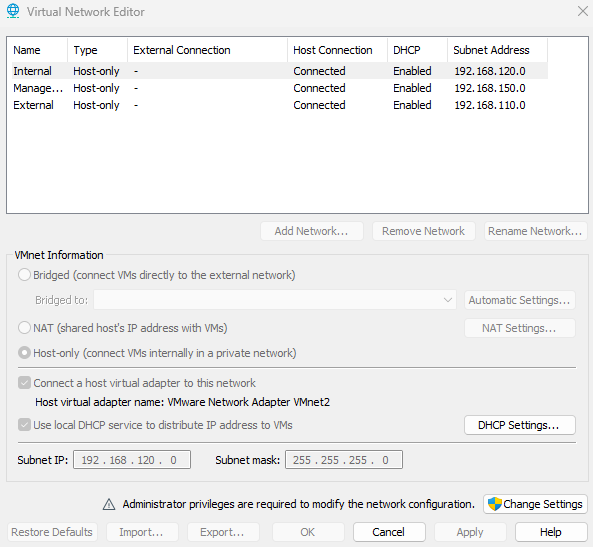
You can now proceed to the next step, the virtual machines.
Download and import the Virtual Machines
Now that the network are ready, let’s import the virtual machines. I pre-packaged all the ova file necessary inside an archive. You can download the archive here :
Torrent : F5 labs VMs v1.2
Mega : F5 labs VMs v1.2
Import the webserver ova
First, we will import the webserver ova. This ova will create the virtual machines that will host our webservers. To do so, use “File” “Open”, and select the ova webserver.ova.
Once imported, check that the network adapter of the virtual machine is set to custom : Internal
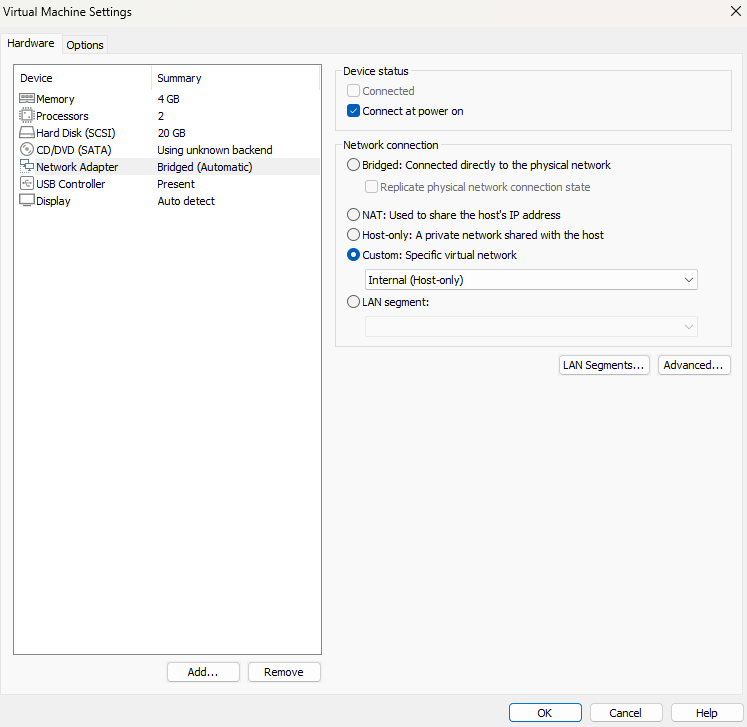
You can try out that the virtual machine is working using the credentials below :
- Username : labs
- Password : labs
Import the webviewer ova
The next step is to import the webviewer ova. This virtual machine will be used as a client.
Use “File” “Open” and select the webviewer.ova file.
Once imported, check that the network adapter of the virtual machine is set to custom : External.
You can try out that the virtual machine is working using the credentials below :
- Username : labs
- Password : labs
Import the F5 BIG IP ova
The last virtual machine to import is the F5 Big IP itself.
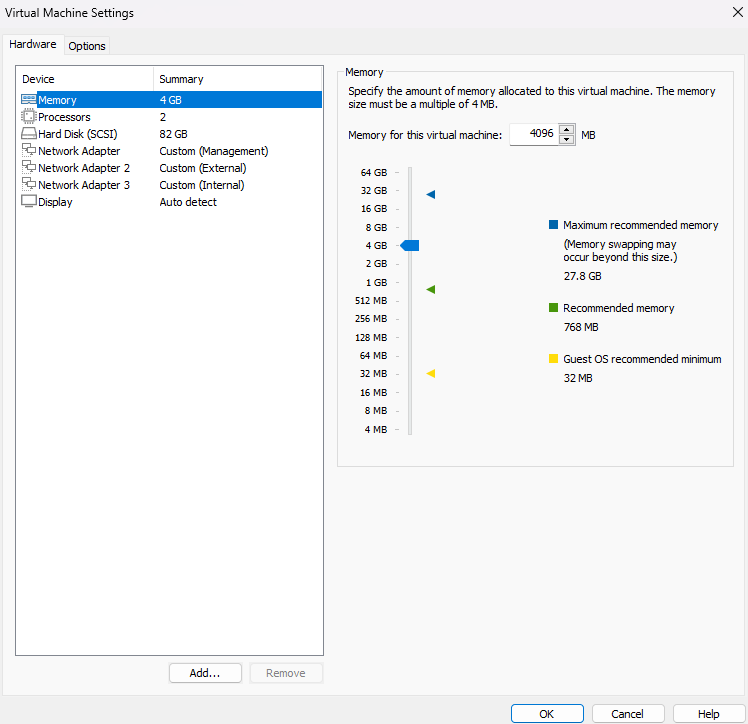
Use the “File” “Open” and select the ova for the F5, in this case “BIGIP-17.1.1.3-0.0.5.ALL-vmware.ova”. Use a comprehensive name, like F5 Big IP. You can use the default value for cpu and memory, 2 cpu and 4Gb of RAM for small labs should be enough. However, if you have the resource, feel free to increase the value. Here is F5 recommendation of memory based on number of cpu :
Before starting up the VM, modify its network configuration. By default the virtual machine has 4 network adapter. The lab will only use 3, so you can delete one. For the first adapter is always used for the management interface. Place the management adapter on the first slot, External for the second slot and finally internal as the third slot. Check below my settings for the F5 VM :
Lience the F5 Big IP VM
F5 Big IP need a license to function. Lucky for us, F5 offer trial licenses. With an email address, you gain access to 2 Big IP trial license per year. A trial license is usable for 1 month. This means that you can have a license for 2 month of a year with a unique email address. With a bit of strategy, you can get licenses for a whole year.
Get registration keys from the F5 website
First of all, create an account on the myf5 website.
Select Free Trials : BIG IP VE and BIG IQ Centralized Management VE

The lab are for BIG IP VE, so select the first option “BIG IP VE”
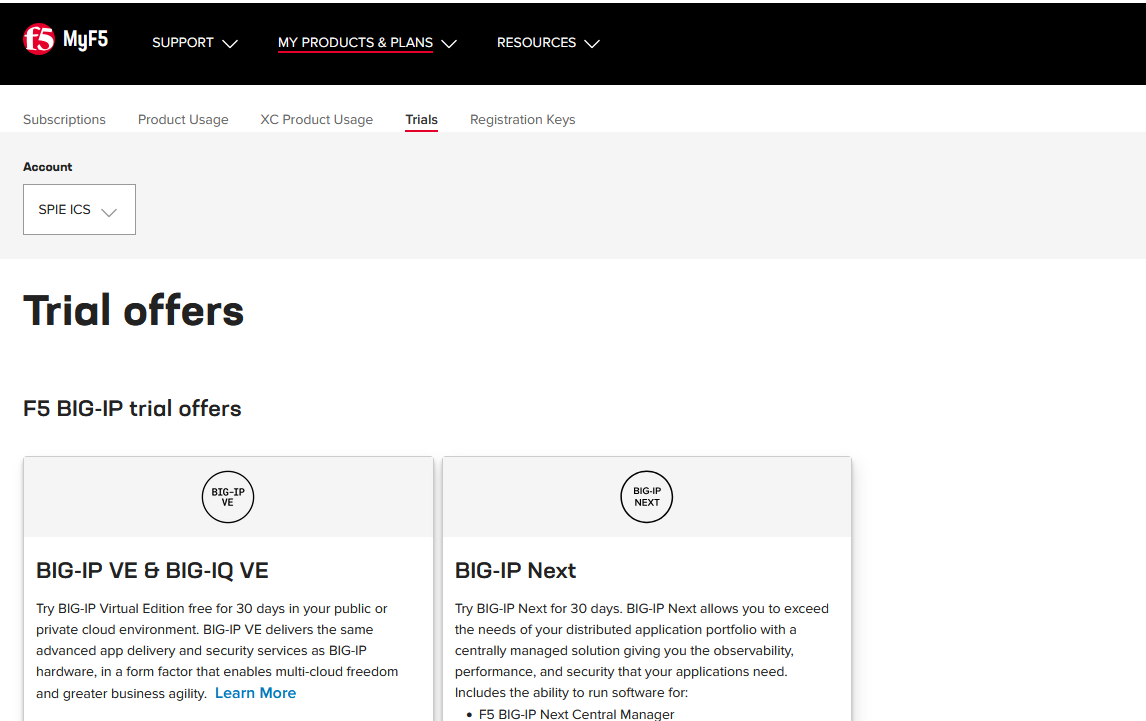
Once selected, you can request the trial. Once done, on the bottom of the page, you should have an active status
Click on the link, and you should have a list of your Registration keys. The 2 BIG IP VE will be used.
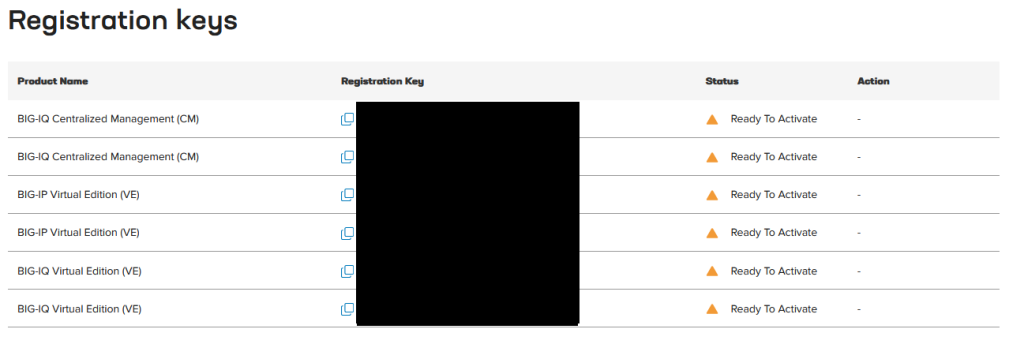
First startup and license of the F5 Bif IP VM
We now have all necessary registration key to license the F5 Big IP. Start up the virtual machine, and connect to the console.
One started, you can log in using the default credential :
- username: root
- password: default
It will first ask to change the root password. It will also update the password for the account admin used for the web access.
Once done, run the config script using the command “config”. It is important to set a static IP address for the management interface
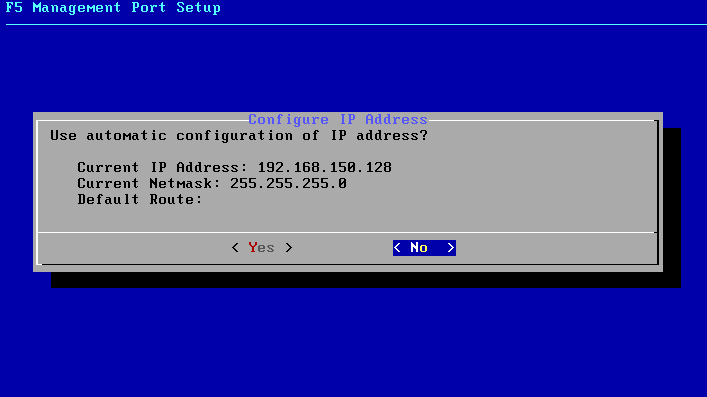
Select no and instead specify a management address of 192.168.150.2. No default route is needed.
You can now access the web ui using a browser : https://192.168.150.2/
Log in the web ui using the username “admin” and the password set earlier. You access the glorious F5 Big IP web ui.

The last step before starting up some labs is to license the VM with the registration keys obtained earlier. Select next to start the first setup.
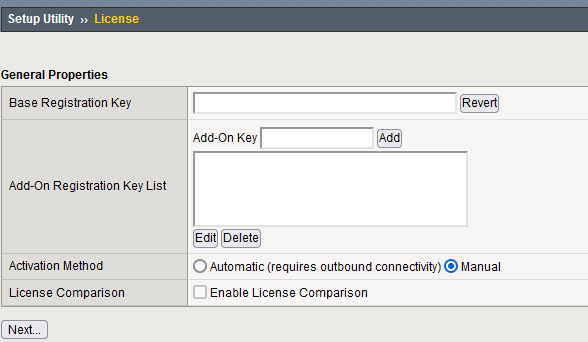
On the Base Registration Key, enter one of the key obtained earlier. As the VM doesn’t have access to internet, we will use the manual activation method. Select Next.
Copy the dossier and paste it into the F5 activation link : activate a license
This will give you a license in return. Paste the license content to the step 3 license in the big ip.


Once done, select next. The F5 should be licensed. A few step are still needed. First one is to provision the F5. Let the default value and select next.
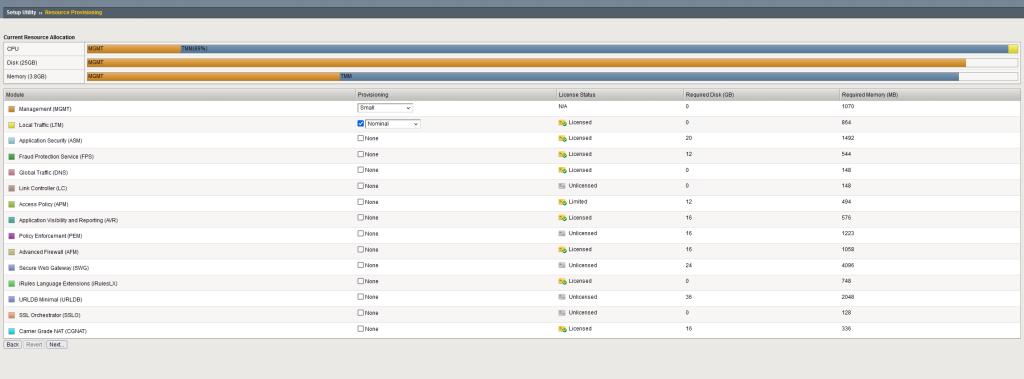
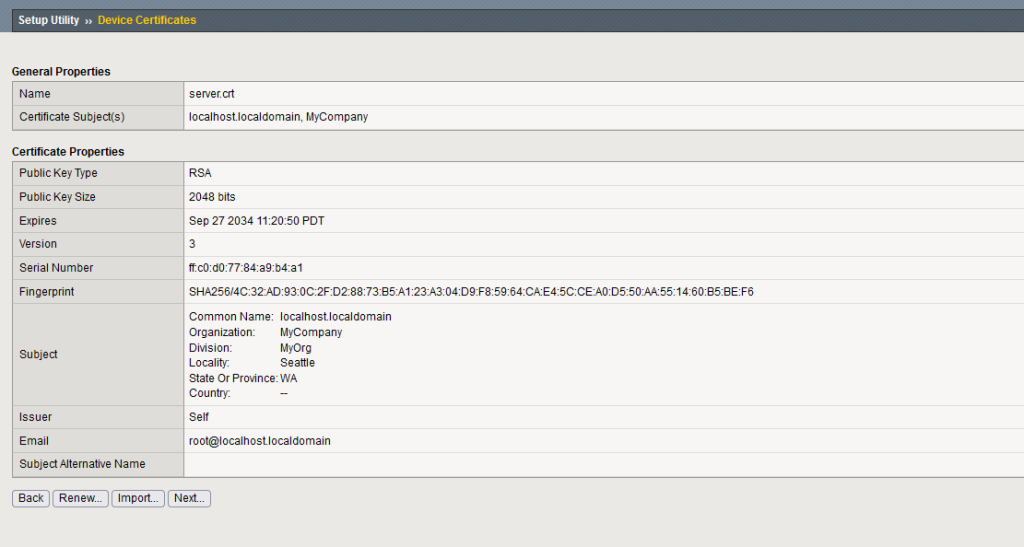
Let all default values and select next.
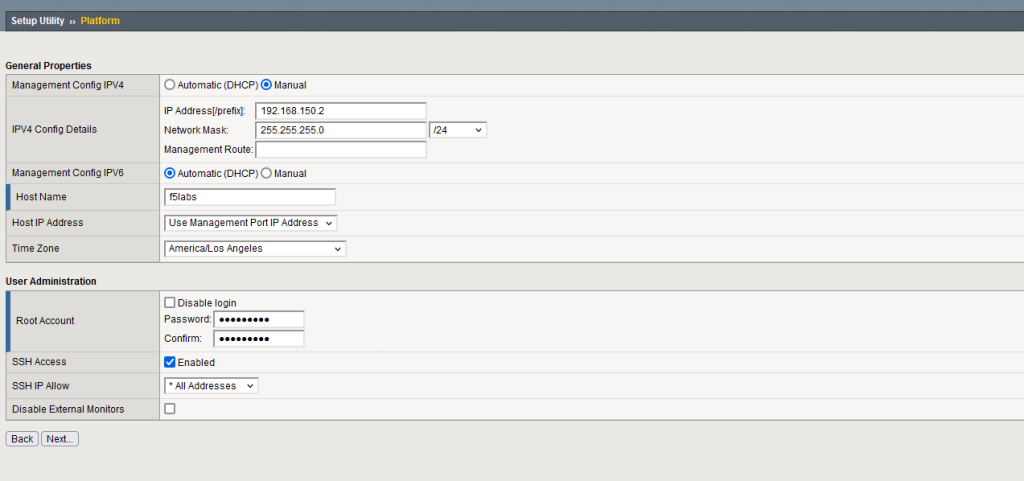
Chose a hostname and a root password and select next.
Finaly, select finished.
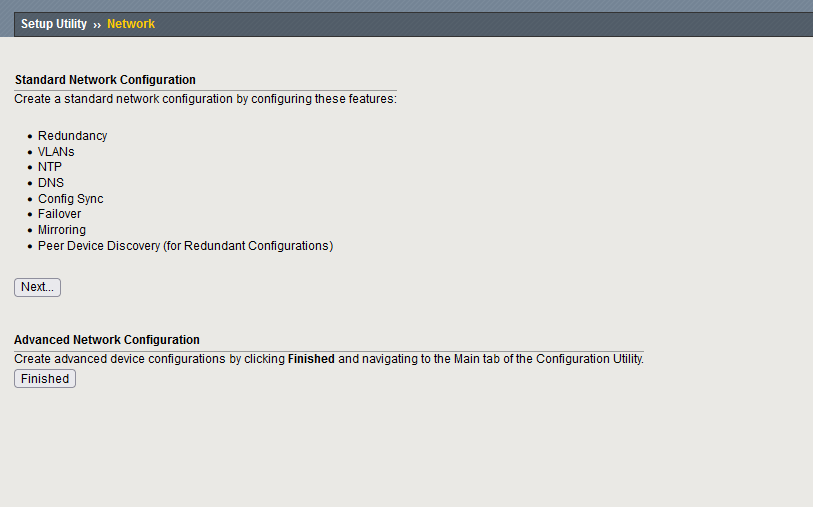
The F5 Big IP is ready for labs.

